If you will be connecting XStudio to a remote database - one that is not the local database XStudio creates and maintains as a default - you can use the database server list maintenance dialog to locate the server (if physically on your LAN) or create a manual entry for the server.
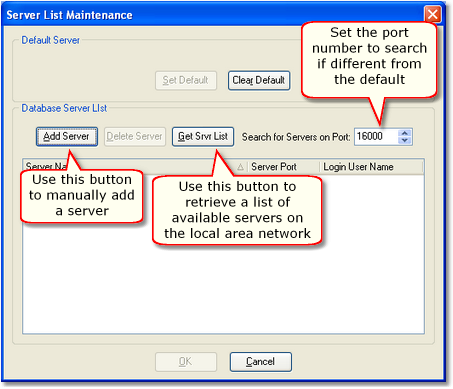
When initially opened with no defined remote database servers, the server list maintenance display will look similar to the example shown.

Default Server List Maintenance Dialog with no Defined Servers
There are two ways to define servers - retrieve a list of available servers from you local area network, and manually add a server that either does not appear on the local area network or is at a remote location.
Retrieve Servers Available on the Local Area Network
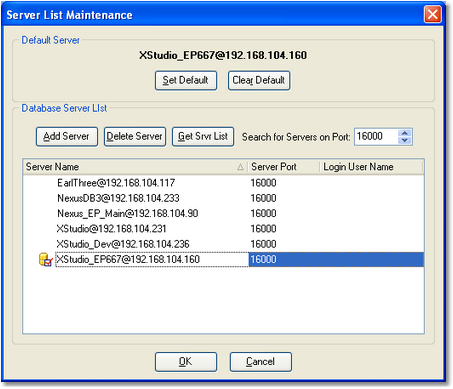
If the database servers you will be maintaining are on your local area network, use the [Get Srvr List] button, which broadcasts a message asking for available servers to respond. In order for the broadcast messaging to work, certain TCP/IP ports must be available for use and not blocked by a firewall. After broadcasting a message across your local area network and waiting a few moments for responses from active database servers, all found servers are added to the database server list.

In the example display shown, one of the servers has also been designated the "Default Server." This means that when XStudio is launched, the selected server is the one that XStudio will initially log in to and use if you have the Use Remote Database property enabled.
Manually Add Servers to the Server List
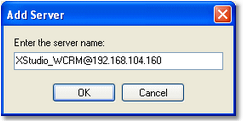
If a local database server cannot be found or if you need to connect to a database server outside your local area network, you can manually add the server using the [Add Server] button, which displays a dialog for entering the server name.

Enter in the server name and click the [OK] button to add it to the server list. The correct entry format for manually adding a server is in the format "Name@Address", where the "Name" portion is whatever the name assigned by the host application is, the "Address" portion is the IP address or resolvable network path, and the "@" symbol separates the two.
Example Server Name Entries
Server names can be entered in any of these formats:
Entry Syntax |
Description |
|---|---|
XStudio_KCRM@192.168.110.120 |
Standard IP address notation. |
XStudio_KCRM@KCRM_ControlRoom |
Machine Name notation - local area network only! |
XStudio_KCRM@KCRM.dns2go.com |
Internet domain name notation. |
User Name and Password
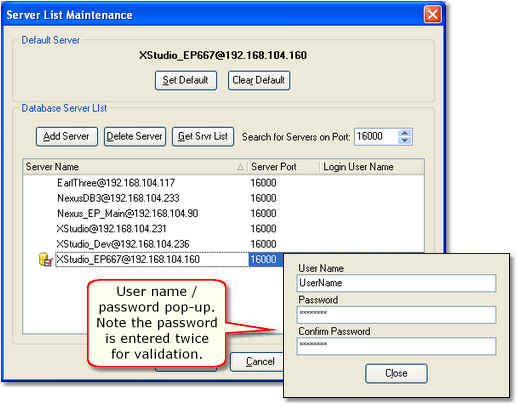
As a default, the XStudio database does not require a user name and password to gain access. However, should the remote database server require a valid user name and password, you can enter the information in the Login User Name field. When you select this field, a dialog appears.

Enter the required user name and password - note the password is entered twice for validation. If the password entries do not match, you will be prompted to reenter them.
When the server list is saved, the user name and password are included. Future logins to the selected database server will have the user name and password entered automatically for you, avoiding a prompt to manually enter them.