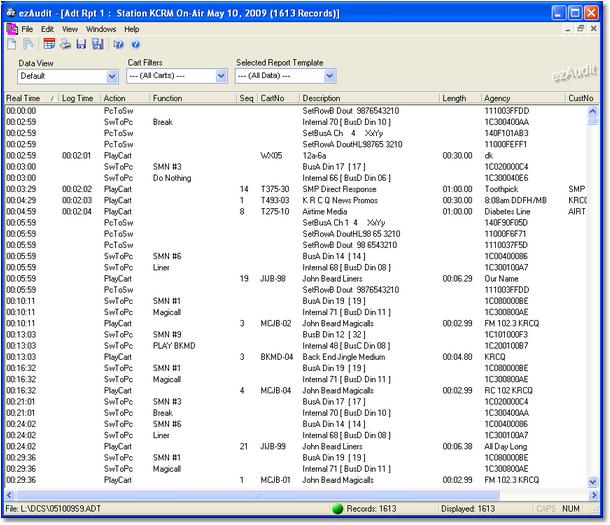
After you have selected an audit file, ezAudit will load the data and display it, similar to the example shown here:

You can view the information in several ways, including all data (the default), grouped by hour, logged items only and logged items only, grouped by hour. Further, you can apply filters to display only carts that match a particular numbering scheme (like we set up in Step 3 of this guide). And, you can select the transaction types and results of your choosing, too.
Once have the information displayed the way you want it, you can save the settings as a template and use the template any time you wish to restore your preferred settings. You can save as many templates as you wish, each with a different “look” at the audit data.