Using XStudio requires launching two applications, XEngine (the audio playback server) and XStudio (the main application). A shortcut to each was placed on the Windows desktop during the installation. In both cases, menu items were also created during installation in Start | Programs | XStudio.
First, start XEngine by double-clicking on the shortcut. After a few moments, you will see a new icon in your taskbar tray, indicating XEngine has started and is ready.
|
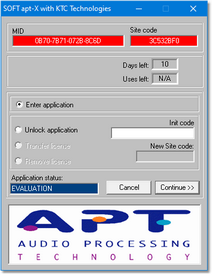
If you have installed the apt-X™ option, you will also see a dialog similar to the one shown here. This is the apt-X license display, indicating that you are using the encoder in EVALUATION mode. You can use the apt-X decoder for 10 days before you need to purchase a license to continue using the decoder. |
Then, start XStudio by double-clicking on its shortcut. XStudio will start up. A splash screen will appear and, if XStudio is not yet registered, a notice regarding registration.
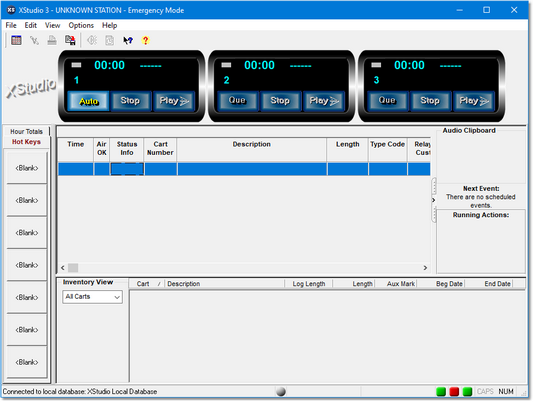
Click [OK] to move on to the main display. Following the splash screen and registration notification, if any, the main display will appear, similar to the one show below.
In order to use XStudio, we need to tell the program where to find logs, where to find audio files, and how to handle things like out-of-date carts (audio files). The next section covers these items.


