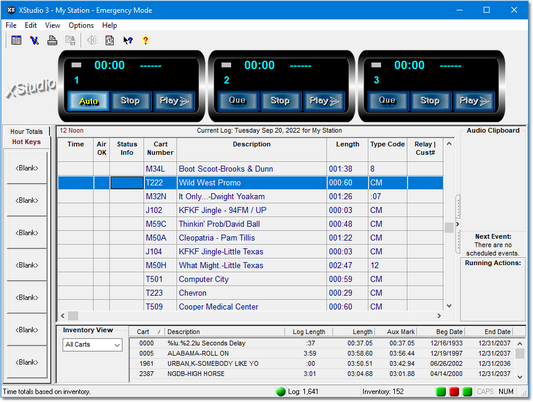
You may have noticed there is a tab display at the left side of the display with tabs labeled “Hot Keys” and “Hour Totals”. The latter displays the audio content totals for each hour of the log. Select the “Hot Keys” tab to display a group of buttons that you can program to play audio on-demand by simply clicking on the hot button:
Initially, all buttons are labeled “<Blank>”, as no audio has been assigned to the button. To set up a hot button, select an item from the log or inventory list and drag over the button. Drop the item. The button is now programmed to play the audio you selected any time you click on the button.
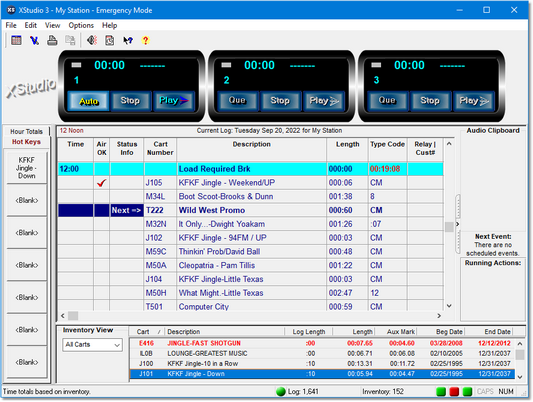
As you can see from the following screen shot, the button is now labeled with the description of the audio.
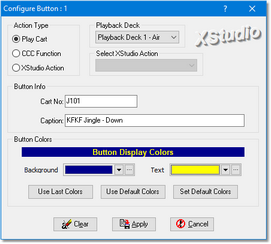
You can edit the description, as well as change the text and background color of the button. [Right-Click] on the button and a dialog appears, allowing you to change the color settings, the text to appear on the button, and the play channel. When you set up a button by dragging and dropping a cart, the playback channel defaults to “1” – the Air channel.
If you make changes to the colors or caption of the button, click on the [Apply] button. The [Cancel] button closes the dialog and abandons any changes you made.


