Step 3 - Scanning for Audio Files! |

  
|
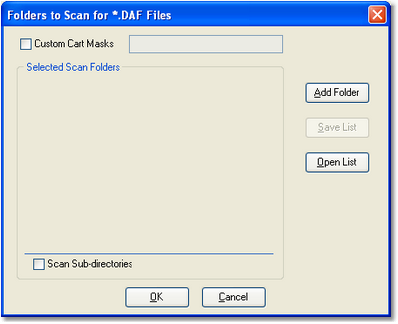
Once you’ve saved your Preference settings, you’ll be returned to the main iDAF display. To scan for audio files, click on the [DAF Scan] button, located on one of the toolbars. A dialog appears, providing the means to select one or more folders (directories) to scan:

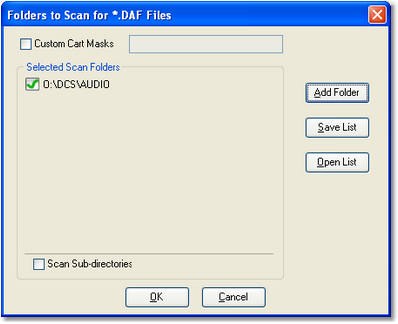
To add a folder, click on the [Add Folder] button and select a folder for the folder list. When you select a folder, it appears in the Selected Scan Folders list.

Notice the item is checked, which means it will be included in the scan. You can select as many folders as you wish to scan. Save the list of folders to scan by clicking on the [Save List] button - and the list can then be used again without having to go through the individual folder selection process.
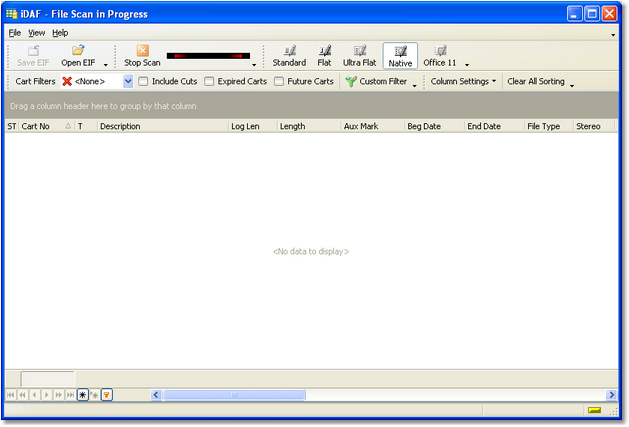
Once you’ve built a list of folders to scan, click on the [OK] button and iDAF will start scanning the folders for .DAF audio files, building a list of the files for display.

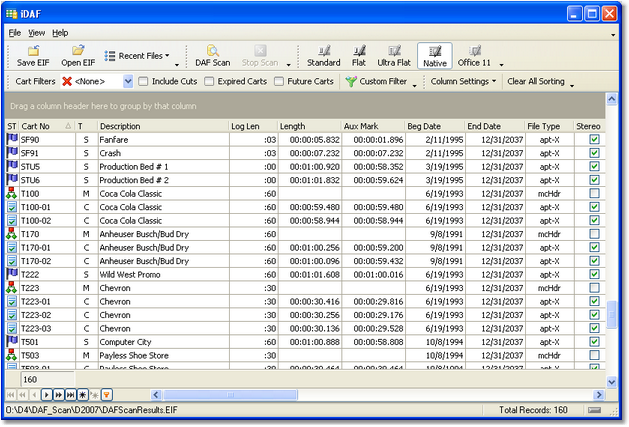
The tool bar button [Stop Scan] is now enabled and an animation is displayed, indicating that the scan is active. When the file scan is complete, the list of found audio files is displayed:

All information known about each audio file that has been found is displayed - there are more columns of display information than can be seen in the example. Use the scroll bar located near the bottom of the list of carts to show the additional columns.
Now that you have a list of carts to review, you can additionally use the cart filters you defined to narrow down the list, group the list by column(s), sort by columns and export the sorted and filtered information to a number of popular file formats.
![]()
For information on additional features enabled when you purchase and register the software, see the next section on Pro version features.