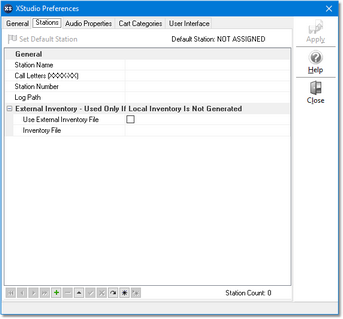
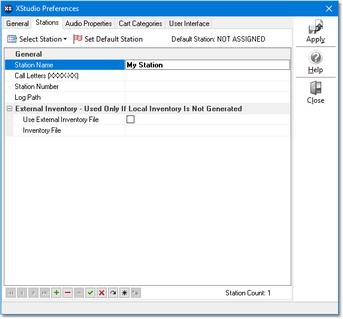
The first thing to be done is to define a station. Select the Stations tab.
Click on the Insert (“+”) button on the stations tool bar, located near the bottom-left the display.
|
Float your mouse over the buttons on the stations toolbar for a description of the button’s functionality. |
The text cursor will be placed in the Station field. Type in a name for the station – this name is used for identification purposes within XStudio and can be anything you like.
Finish filling in the rest of the information about the station, including the call letters, the station number, the path to log files and, optionally, the inventory information.
|
The inventory information is not needed if XStudio will be running as a stand-alone system, not connected to a LAN where a DCS or Maestro system is running. |
You can get help on what each field is for and what is needed by either clicking on the [Help] button located on the right side of the dialog.
When you have finished filling in the information, click on the “Post Edit” button, which appears as a check mark on the Stations toolbar. This confirms your settings for the station you have just defined.
|
You can assign a station as the “default station” by selecting the station and clicking on the [Set Default Station] button . When XStudio starts up, this station will be selected initially. |
After posting the station information, the [Apply] button will be enabled, allowing you to apply (or save) your changes (the station information).


