The XStudio Voice Tracker music database import functionality is accessed in Preferences on the Music Data tab.
|
To import your music database, you first need to export the music information from your music scheduling system. Supported music scheduling systems include Selector™, Music Master and POWERGOLD (others may be added in the future). If you are using Maestro and have already exported the music data for use within Maestro, you can use the same file. See the section on Exporting Data from your Music Scheduling System for more information on setting up and executing the export. |
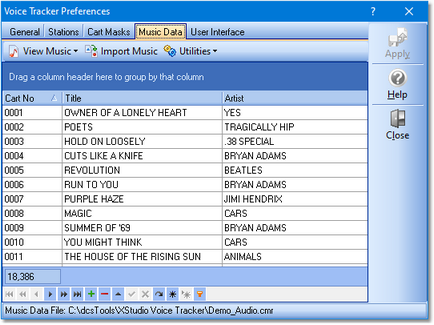
Importing is started via a menu toolbar, similar to the sample shown.

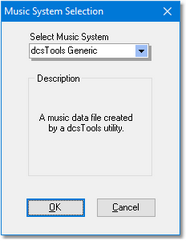
Click on the [Import Music] button. A dialog appears for selection of the type of music database file you are going to import.
Select the type of music data file that you will be importing for use with XStudio Voice Tracker and click on the [OK] button.
A new dialog is displayed for selecting the file to import. Select the file and click on the [OK] button.
If needed, you will be prompted to provide a name for the imported data file – the file that will contain the imported (converted) music data base for use by XStudio Voice Tracker. Click on the [OK] button to begin the import process.
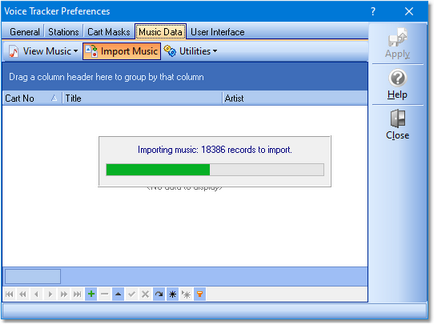
During the import process, a status window shows you the progress of the import.
When the import is complete, the imported music data is displayed, ready to be reviewed.
|
Some music databases may have some duplicate cart numbers. This occurs if cart numbers are erroneously assigned or sometimes, where a cart number is re-used when a song is taken out of the play rotation. Duplicate cart number handling is different when appending records to existing data versus the imported data replacing all existing music data. 1)Appending Records. If duplicate carts are found, each instance of the duplicate updates the music record. The effect is that the information of the last duplicate found in the source data becomes the content of the music record. 2)Inserting Records. If duplicate carts are found, only the first record encountered during the import is placed in the database. All others are discarded. |
Once imported, the data can be manually changed – you can add, edit and delete songs as well as perform bulk maintenance procedure, including proper-casing the music. See the topic Preferences - Music Data for details on managing an imported music database.


