It's likely that a majority of your editing will involve adding or editing cart records (a.k.a. spot records). When opened, the display format is similar to the example shown.
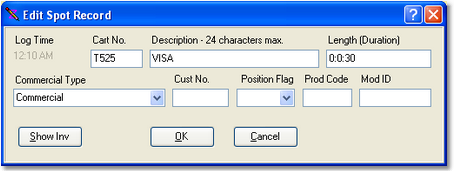
You can edit each field individually, or, if using an inventory for the log, simply fill in the cart number and press the [Enter] key. If the cart number you entered exists in the inventory, the Description and Length fields will be filled in automatically with the inventory information. You can also select a cart from the inventory list - click on the [Show Inv] button to display the inventory list (see the expanded spot dialog below) and [Double-Click] on the cart you wish to use.
When you have completed editing and press the [OK] button, your entries are validated and, if incorrect or missing, you get a warning message and the cursor is placed in the field that needs to be corrected.
Spot (Cart) Dialog Field Information
Items with a check mark in the REQ column require user entry, while unchecked items have default values which can optionally be changed. Items mark RO are read-only and not editable.
Field |
REQ |
Usage |
||
|---|---|---|---|---|
Log Time |
RO |
Displays base time for the log item. |
||
Cart Number |
|
|
||
Description |
|
|
||
Length |
|
|
||
|
|
|||
Customer Number |
|
|
||
Position Flag |
|
|
||
Product Code |
|
|
||
Mod ID |
RO |
If a log has been voice-tracked with Maestro and the item is a part of a modified sequence, a number will appear in this field. |


|
To create an "open" or "blank" avail, enter a cart number of "****" (4 asterisks) and leave all other fields blank. You can create an open avail more easily by selecting the item Open Avail from the Insert Log Item dialog. |

You can expand the spot dialog display to show the inventory (if enabled) and select carts (spots) from the inventory list. For more information on using the inventory, see the section on Using the Inventory.
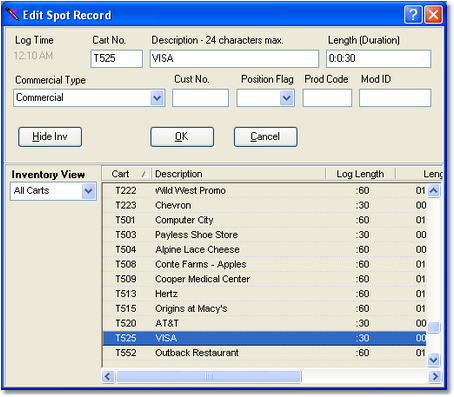
When the inventory list is displayed, you can [Double-Click] on an inventory item to fill in all applicable fields in the spot record. You can also drag an item from the inventory list and drop it on the edit panel to fill in all applicable fields.