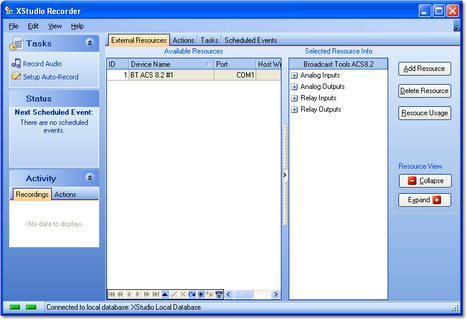
Most of your interaction with XStudio Recorder will be setting up automatic recordings. In the main display's Tasks panel, click on the item Setup Auto-Record. The XStudio Recorder display will change to show a group of tabs for selecting each of the components used to set up recordings. In this area, you are accessing the XStudio Recorder database, which is a set of tables that store tasks, actions, external resources and schedule information.
Basic Steps to Create an Automatic Recording
There are just a few basic steps to create an automatic recording. Depending on the type of recording (relay-driven or schedule-driven), some steps are optional.
1.If your recording will be initiated by an input relay or if you will be using an audio switcher to route audio to your recording input channels, you must define an audio switcher that will be used. When the switcher has been defined, open Preferences and make it the default audio switcher. For additional information on creating an audio switcher resource, see the topic on External Resources.
2.Create a Start Record Task. If you are using an audio switcher to select the audio to be recorded, you will also create an Update Switcher Task. There may be other XStudio Recorder tasks that you wish to execute in conjunction with the recording - if so, review the Task Reference topic for information on available tasks and what they do.
3.When you have completed creation of the needed tasks, create an XStudio Recorder Action and assign the tasks to the action in the order in which you want them executed.
4.If you are using the built-in XStudio Recorder scheduling system to execute the recording, create a Scheduled Event. If an input relay on your switcher will be used to execute the recording, assign the Action you created for it to the correct input relay in the External Resources area.

